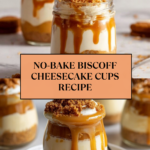
No-Bake Biscoff Cheesecake Cups Recipe
Introduction
These No-Bake Biscoff Cheesecake Cups are an effortless and indulgent treat featuring the beloved Lotus Biscoff flavor. Creamy, rich, and layered with crunchy cookie crumbs, they’re perfect for a quick dessert that feels special.
Ingredients
- Lotus Biscoff biscuits (about 30)
- 2 tablespoons unsalted butter, melted
- 16 oz (2 cups) heavy cream
- 8 oz cream cheese, at room temperature
- ½ cup powdered sugar
- ½ cup Biscoff (cookie butter) spread, plus extra for topping
- 1 teaspoon vanilla extract
- Garnish: halved Biscoff cookies and reserved cookie crumbs
Instructions
- Step 1: Crush the Biscoff biscuits into fine crumbs using a food processor or a rolling pin. Mix the crumbs with the melted butter, reserving a few tablespoons of the mixture for decoration.
- Step 2: Press about 2–3 tablespoons of the crust mixture firmly into the bottom of each dessert cup or glass. Set aside to prepare the filling.
- Step 3: In a bowl, whip the heavy cream until stiff peaks form. This will give your filling a light and airy texture.
- Step 4: In another bowl, beat together the cream cheese, powdered sugar, Biscoff spread, and vanilla extract until smooth and creamy.
- Step 5: Gently fold the whipped cream into the cream cheese mixture until fully combined, being careful to keep it light and fluffy.
- Step 6: Transfer the cheesecake filling to a piping bag and pipe it evenly into each prepared cup over the crust.
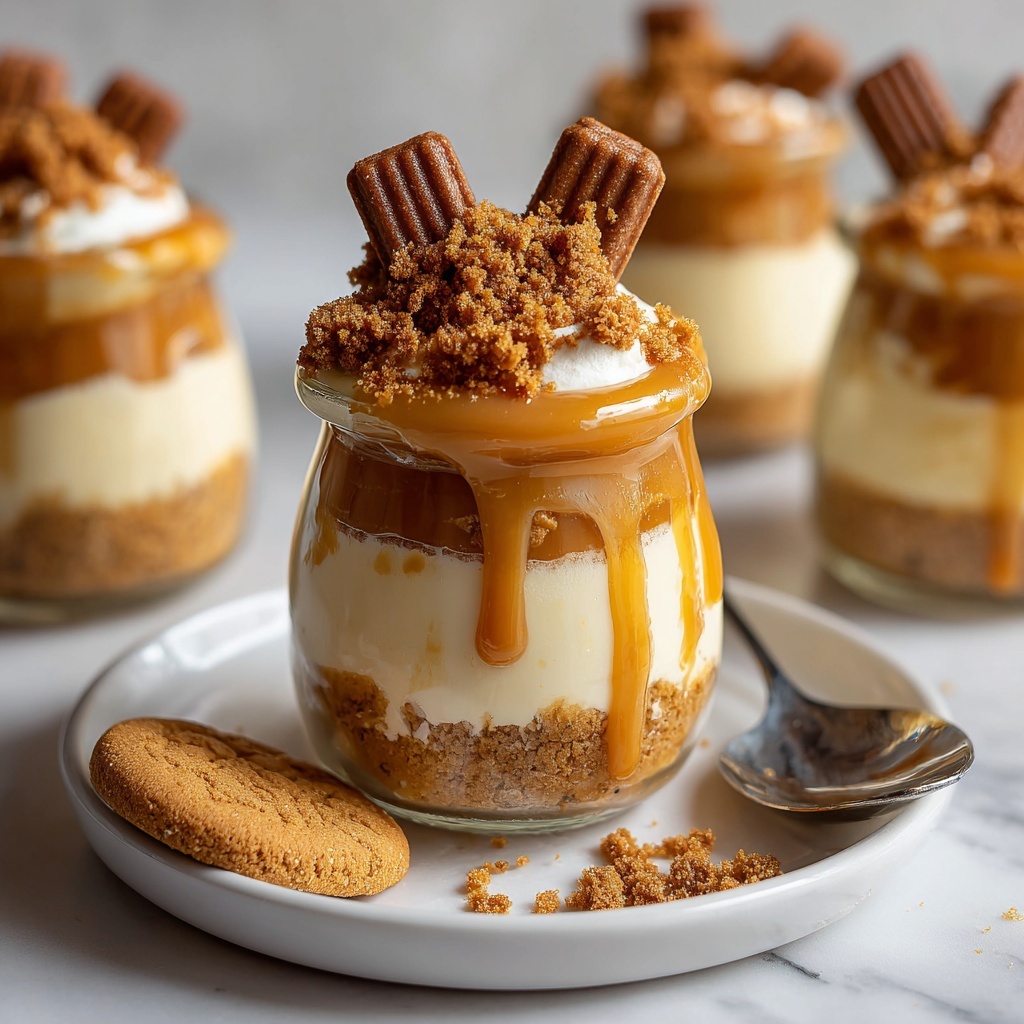
- Step 7: Melt about ½ cup of Biscoff spread in the microwave until it is pourable. Spoon or drizzle this melted spread over the cheesecake layer in each cup.
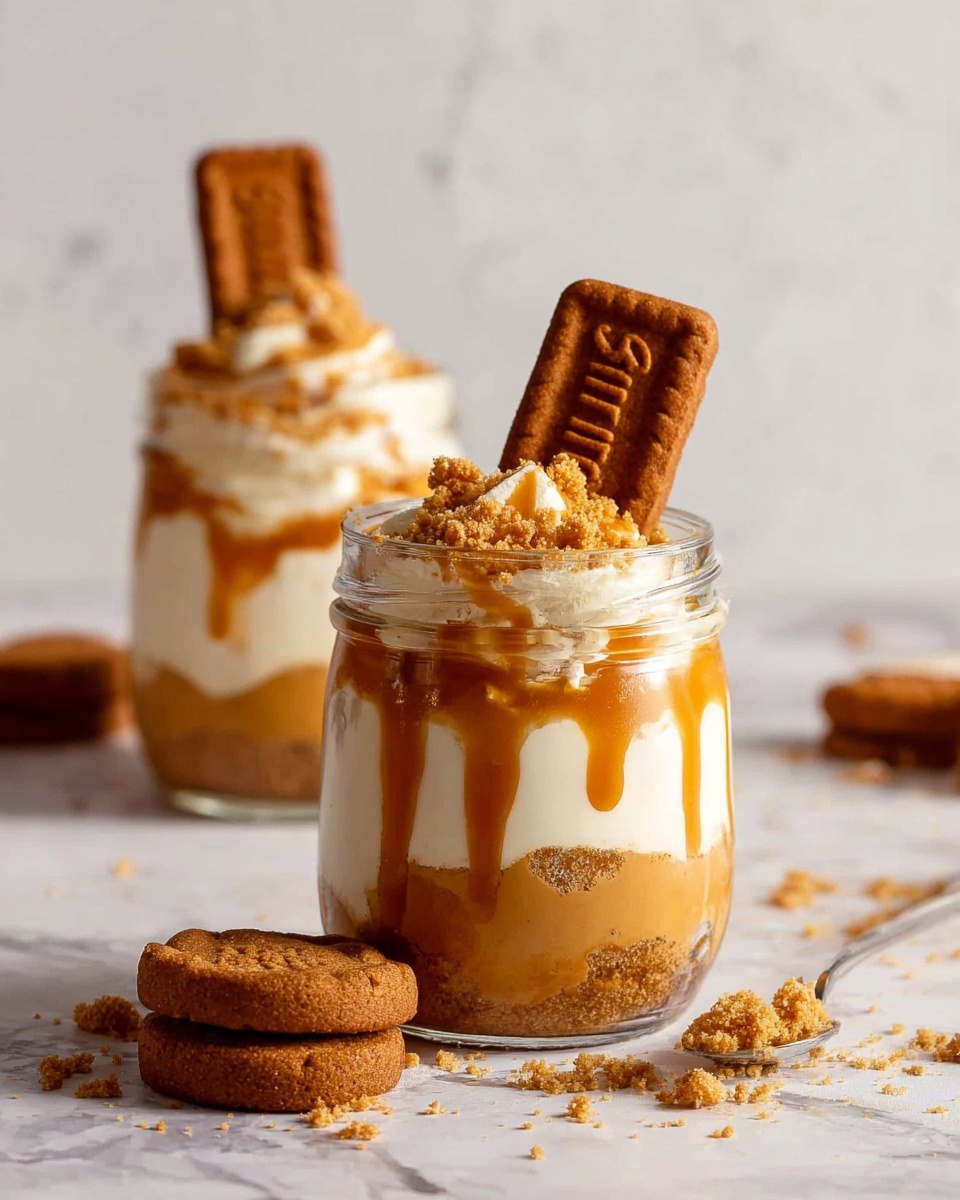
- Step 8: Garnish each cup with halved Biscoff cookies and sprinkle reserved cookie crumbs on top for a crunchy finish.
- Step 9: Refrigerate the cheesecake cups for at least 4 hours or overnight until fully set. Serve chilled.
Tips & Variations
- For a lighter version, substitute half of the heavy cream with Greek yogurt in the filling.
- If you can’t find Biscoff spread, peanut butter or another cookie butter makes an interesting variation.
- Use mini jars or small glasses for an elegant presentation perfect for parties.
- Garnish with chopped nuts or a drizzle of chocolate for extra texture and flavor contrast.
Storage
Store the cheesecake cups covered in the refrigerator for up to 3 days to keep them fresh. Reheat is not recommended since they are best enjoyed chilled and creamy.
How to Serve
Serve this delicious recipe with your favorite sides.
FAQs
Can I use regular cream cheese instead of room temperature?
It’s best to use cream cheese at room temperature to ensure a smooth and lump-free filling. Cold cream cheese will not blend as well.
Do I need a food processor to crush the Biscoff biscuits?
No, you can place the biscuits in a zip-top bag and crush them with a rolling pin or a heavy pan if you don’t have a food processor.
PrintNo-Bake Biscoff Cheesecake Cups Recipe

These No-Bake Biscoff Cheesecake Cups are a delightful and creamy dessert perfect for any occasion. Featuring a crunchy Biscoff biscuit crust and a smooth, fluffy Biscoff-flavored cheesecake filling, these individual servings are topped with a luscious layer of melted Biscoff spread and garnished with halved cookies and crumbs for added texture and flavor. An easy, no-bake treat that requires minimal effort but delivers maximum indulgence.
- Prep Time: 20 minutes
- Cook Time: 0 minutes
- Total Time: 4 hours 20 minutes (including chilling time)
- Yield: 6–8 cheesecake cups 1x
- Category: Dessert
- Method: No-Cook
- Cuisine: American
Ingredients
Crust
- About 30 Lotus Biscoff biscuits
- 2 tablespoons unsalted butter, melted
Cheesecake Filling
- 16 oz (2 cups) heavy cream
- 8 oz cream cheese, at room temperature
- ½ cup powdered sugar
- ½ cup Biscoff (cookie butter) spread, plus extra for topping
- 1 teaspoon vanilla extract
Garnish
- Halved Biscoff cookies
- Reserved cookie crumbs
Instructions
- Prepare the crust: Crush the Lotus Biscoff biscuits into fine crumbs using a food processor or rolling pin. Mix the crumbs with the melted butter, reserving a few tablespoons of the crumb mixture for decoration.
- Assemble the crust layer: Press about 2–3 tablespoons of the crust mixture firmly into the bottom of each dessert cup or glass. Set the cups aside while you prepare the filling.
- Whip the cream: In a clean bowl, whip the heavy cream until stiff peaks form. This will add lightness and volume to the cheesecake filling.
- Make the cheesecake filling: In another bowl, beat together the cream cheese, powdered sugar, Biscoff spread, and vanilla extract until smooth and creamy. Gently fold the whipped cream into the cream cheese mixture until fully incorporated, taking care to keep the mixture light and airy.
- Fill the cups: Transfer the cheesecake filling into a piping bag (or use a spoon) and pipe or spoon the filling evenly into each prepared dessert cup over the crust layer.
- Layer melted Biscoff spread: Melt about ½ cup of Biscoff spread in the microwave until pourable. Carefully layer the melted spread over the cheesecake filling in each cup to create a smooth, glossy topping.
- Garnish and chill: Top each cup with halved Biscoff cookies and sprinkle with the reserved cookie crumbs for extra texture and decoration. Refrigerate the cheesecake cups for at least 4 hours, or preferably overnight, until fully set.
- Serve chilled: Enjoy these delicious cheesecake cups cold straight from the refrigerator for the best texture and flavor.
Notes
- Make sure the cream cheese is at room temperature to ensure a smooth and lump-free filling.
- For best results, use fresh heavy cream and whip to stiff peaks to achieve the perfect light and fluffy texture.
- The dessert cups can be made a day ahead and stored covered in the fridge.
- Use a piping bag for neater and more attractive presentation, but a spoon works equally well.
- If Biscoff spread is too thick to melt, add a teaspoon of neutral oil to thin it out.
Keywords: No-Bake Cheesecake, Biscoff Cheesecake, Easy Dessert Cups, Lotus Biscoff Dessert, No Bake Dessert