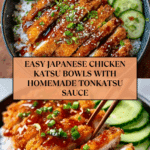
Japanese Katsu Bowls: A Delicious Guide to Making Authentic Katsu at Home
If you’ve ever wandered into a cozy Japanese eatery and fallen in love with that crispy, golden cutlet nestled over fluffy rice, then this is the article for you. This Guide to Making Authentic Katsu at Home will transform you into a kitchen hero, teaching you how to prepare this classic comfort food with ease and heart. From perfectly breaded chicken or pork to that irresistible tangy sauce, each step is crafted to bring out the vibrant flavors and textures that make katsu a beloved dish across the world. Ready to bring this crunchy delight right to your table? Let’s dive in!
Ingredients You’ll Need
Believe it or not, the magic of authentic katsu comes from simple, straightforward ingredients. Each one plays a crucial role, whether it’s creating the perfect crispy crust, ensuring juicy meat, or balancing flavors with a sweet and savory touch.
- Boneless chicken breasts or pork loin: The star protein that forms the crispy cutlet foundation; choose your favorite for ultimate satisfaction.
- Salt and pepper: Basic seasonings that elevate the natural flavors of the meat.
- All-purpose flour: Helps the egg coating stick better to the meat before the panko breadcrumbs go on.
- Large eggs: Acts as a glue for the breadcrumbs to cling perfectly to your cutlets.
- Panko breadcrumbs: Japanese-style breadcrumbs that provide that signature light and crispy texture.
- Vegetable oil: Ideal for frying to achieve a golden, crunchy finish without overpowering the flavor.
- Japanese short-grain rice: The soft, sticky base that soaks up all those delicious flavors on top.
- Rice vinegar, sugar, and salt: Combine to season the rice gently, adding a subtle, tangy touch that breaks up the richness.
- Tonkatsu sauce, soy sauce, Worcestershire sauce, and ketchup: Mixed to create a rich, tangy dipping sauce that pulls the entire dish together.
- Shredded cabbage: Adds crunch and freshness as a classic sidekick.
- Green onions: Mild sharpness and color for an extra flavor pop.
- Sesame seeds: Provide a nutty aroma and decorative finish.
- Pickled ginger (optional): Offers a bright, tangy note that cleanses the palate beautifully.
How to Make Guide to Making Authentic Katsu at Home
Step 1: Prepare the Rice Just Right
Authentic katsu bowls start with perfectly cooked Japanese short-grain rice. Rinse the rice under cold water until it runs clear to remove excess starch, then soak it for 30 minutes in the measured water to allow it to hydrate evenly. Bring to a boil covered, then simmer gently without uncovering for 15 minutes. Let it rest off the heat for 10 minutes to finish steaming. This method ensures a fluffy yet sticky texture that’s irresistible under your katsu cutlet.
Step 2: Season and Pound the Meat
Pounding your chicken breasts or pork loin to an even ½ inch thickness ensures they cook evenly and stay juicy. Season generously with salt and pepper—this simple step seasons the meat itself, so each bite bursts with balanced flavor.
Step 3: Set Up Your Breading Station
This is where the fun begins! Arrange shallow dishes with flour, beaten eggs, and panko breadcrumbs in sequence. Dredge the meat in flour first—this dry coating helps the egg adhere better—dip into eggs, and finally press into panko breadcrumbs, making sure every surface is completely coated. This triple step creates the signature crunch you’re after.
Step 4: Fry to Golden Perfection
Heat vegetable oil in a skillet to medium-high—enough so the cutlets sizzle immediately upon contact. Fry the meat for about 4-5 minutes per side, turning carefully to avoid losing that crispy crust. Once golden brown and cooked through, drain on paper towels to remove excess oil and let them rest. Resting keeps the juices inside and stops the crust from becoming soggy.
Step 5: Whip Up the Signature Sauce
Mix tonkatsu sauce, soy sauce, Worcestershire sauce, and ketchup in a small bowl. This blend hits all the right notes—sweet, tangy, a bit savory, and unbelievably addictive. Drizzle this over your sliced cutlets right before serving for that authentic flavor boost.
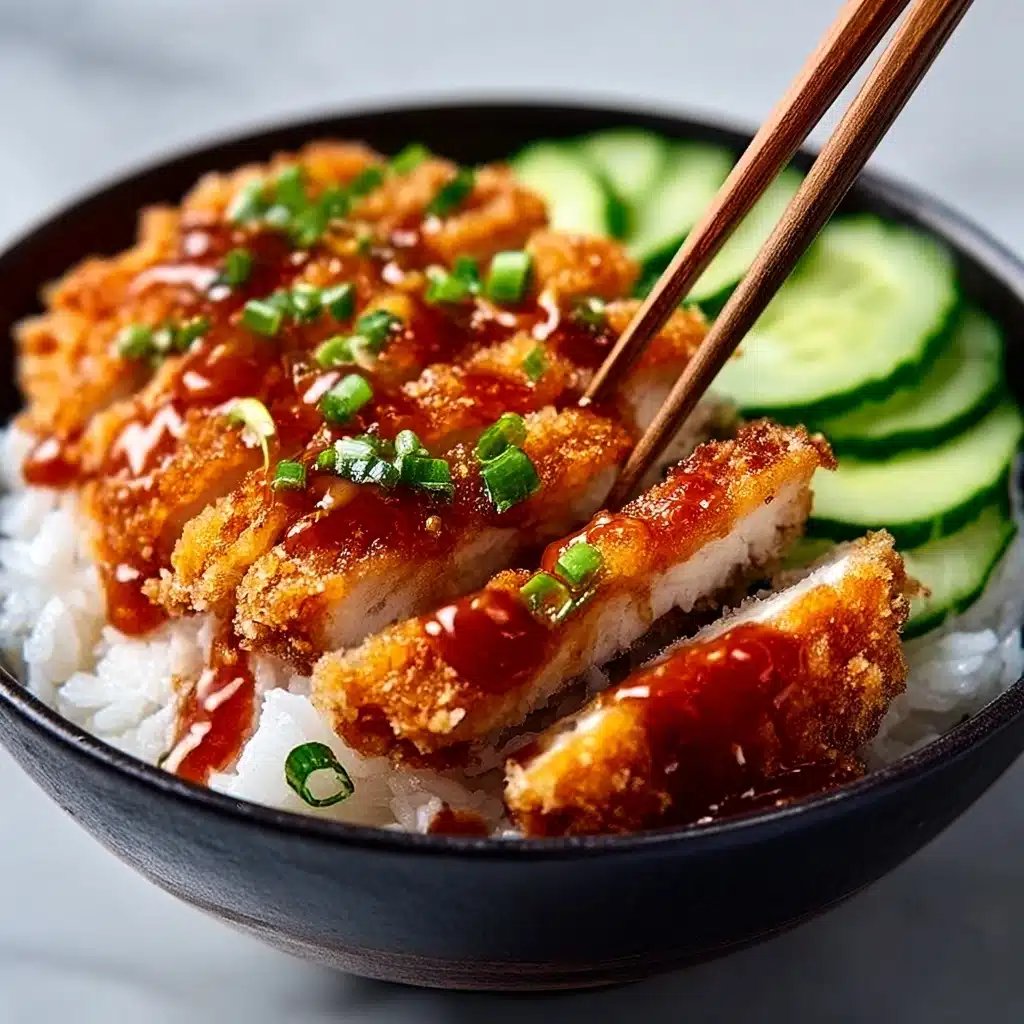
Step 6: Assemble Your Katsu Bowl with Love
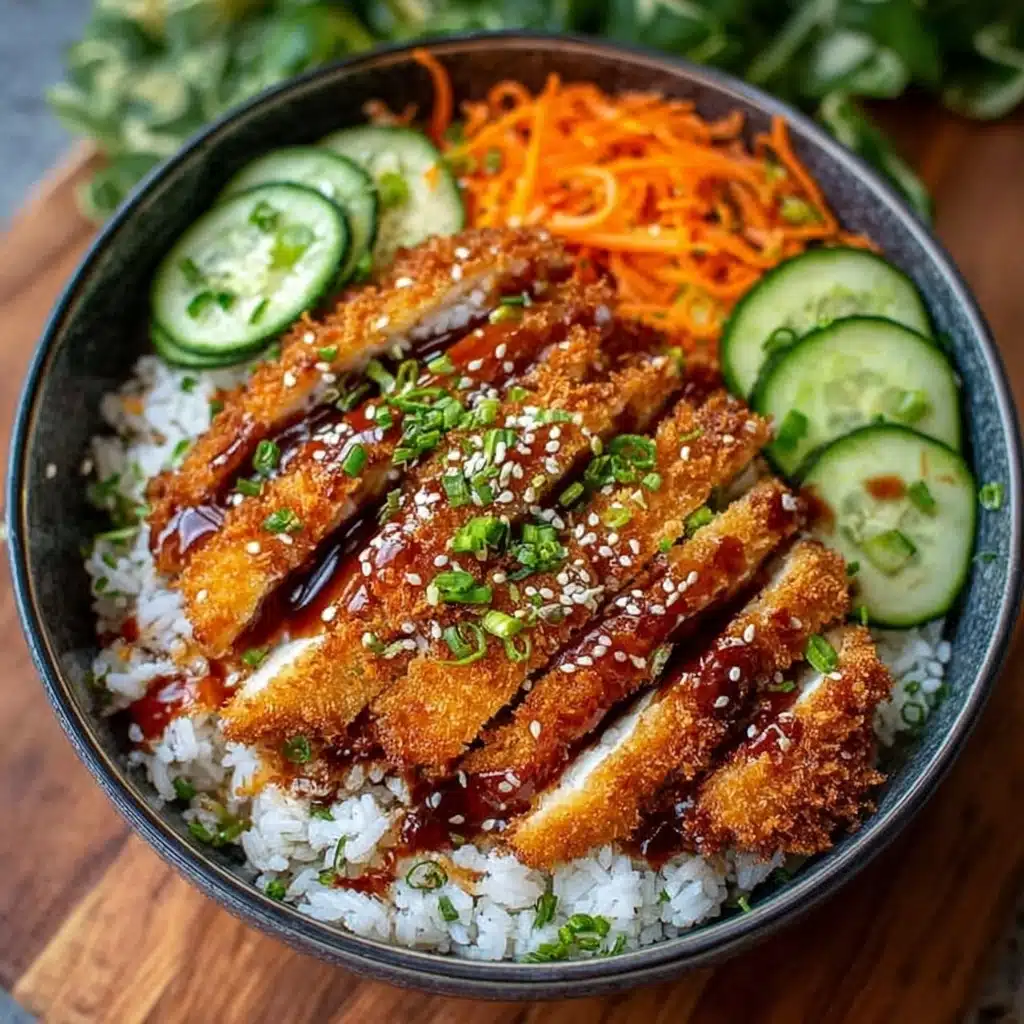
Spoon the seasoned rice onto your plate or bowl as the base. Layer on sliced katsu cutlets, a mound of shredded cabbage, green onions, and sprinkle sesame seeds. Add pickled ginger on the side if you like a little zing. Drizzle the sauce over everything and get ready to dig into an incredible homemade meal that rivals any restaurant.
How to Serve Guide to Making Authentic Katsu at Home
Garnishes
Simple garnishes like shredded cabbage, green onions, and sesame seeds not only add eye-catching color but also provide textural contrast and subtle flavor enhancements. Optional pickled ginger adds a fresh acidity that cleanses your palate between bites, balancing the richness of the fried cutlet wonderfully.
Side Dishes
Pair your katsu bowls with miso soup, a crisp cucumber salad, or steamed edamame for a full experience. These sides highlight the dish without overwhelming it, keeping the spotlight on your perfectly crispy katsu and well-seasoned rice.
Creative Ways to Present
Think outside the bowl by serving katsu sliced over a bed of noodles or wrapped in lettuce leaves for a fresh bite. Layer sliced avocado or fried egg on top to elevate indulgence. The Guide to Making Authentic Katsu at Home encourages you to experiment while respecting the dish’s roots.
Make Ahead and Storage
Storing Leftovers
Leftover katsu can be stored in an airtight container in the refrigerator for up to two days. Keep the cutlets and rice separate if possible to maintain crispiness. Store garnishes like cabbage and green onions fresh to add just before reheating or serving again.
Freezing
You can freeze cooked katsu cutlets for longer storage by wrapping them tightly in plastic wrap and placing them in a freezer-safe bag. They’ll keep well for up to one month. Freeze the rice separately to preserve texture and freshness upon thawing.
Reheating
To bring leftover katsu back to life, reheat in a preheated oven or toaster oven at 350°F (175°C) for about 10 minutes. This method revives the crispiness better than microwaving, which can leave the crust soggy. Warm the rice gently on the stovetop or microwave and combine just before serving.
FAQs
Can I use pork instead of chicken for katsu?
Absolutely! While chicken katsu is popular, pork loin is traditional and offers a rich, juicy flavor that many katsu lovers adore. Just be sure to pound and cook it evenly for the best results.
What makes panko breadcrumbs different from regular breadcrumbs?
Panko is made from crustless bread and has a lighter, airier texture that crisps up beautifully when fried. This is a key ingredient in authentic Japanese katsu that creates that irresistible crunch.
Is it necessary to soak the rice before cooking?
Soaking Japanese short-grain rice helps the grains absorb water evenly, resulting in that signature sticky yet tender texture essential for katsu bowls. It’s a small step that makes a big difference.
Can I make the tonkatsu sauce from scratch?
Yes! Mixing tonkatsu sauce with soy sauce, Worcestershire sauce, and ketchup offers a fantastic homemade alternative to store-bought. It’s tangy, sweet, and savory, perfectly complementing your crispy cutlets.
How do I keep the katsu crispy when serving?
Drain your fried cutlets on paper towels immediately to remove excess oil and allow resting before slicing. Serve the katsu on top of rice rather than soaking in sauce, and add sauce just before eating to maintain that perfect crunch.
Final Thoughts
There is something truly special about creating your own katsu at home—and this Guide to Making Authentic Katsu at Home is your ticket to crispy, juicy cutlets and perfectly seasoned rice that will impress family and friends alike. Once you get the hang of these simple steps, you’ll find it hard to resist making katsu a regular in your kitchen. So grab your apron and start frying—your new favorite comfort meal awaits!
“`
PrintJapanese Katsu Bowls: A Delicious Guide to Making Authentic Katsu at Home

Learn how to make authentic Japanese Katsu Bowls at home with this detailed guide. Crispy, golden fried chicken or pork cutlets served over perfectly cooked vinegared rice, topped with shredded cabbage, green onions, and a savory tonkatsu-inspired sauce. This recipe brings the comforting flavors of Japan to your table with easy steps and simple ingredients.
- Prep Time: 40 minutes
- Cook Time: 25 minutes
- Total Time: 1 hour 5 minutes
- Yield: 2 servings 1x
- Category: Main Course
- Method: Frying, Simmering
- Cuisine: Japanese
- Diet: Halal
Ingredients
For the Katsu:
- 2 boneless chicken breasts (or pork loin, if preferred)
- Salt and pepper, to taste
- 1 cup all-purpose flour
- 2 large eggs
- 1 cup panko breadcrumbs
- Vegetable oil, for frying
For the Rice:
- 2 cups Japanese short-grain rice
- 2 ½ cups water
- 1 tablespoon rice vinegar
- 1 tablespoon sugar
- ½ teaspoon salt
For the Sauce:
- ¼ cup tonkatsu sauce (or store-bought)
- 1 tablespoon soy sauce
- 1 teaspoon Worcestershire sauce
- 1 teaspoon ketchup
For Garnish and Serving:
- 1 cup shredded cabbage
- 2 green onions, sliced
- Sesame seeds, for garnish
- Pickled ginger (optional)
Instructions
- Prepare the rice: Rinse the rice under cold water until the water runs clear to remove excess starch. Transfer the rinsed rice to a saucepan, add 2 ½ cups of water, and soak for 30 minutes to ensure even cooking.
- Cook the rice: Cover the saucepan and bring to a boil over medium-high heat. Reduce the heat to low and simmer without lifting the lid for 15 minutes to allow the rice to steam properly.
- Rest the rice: Turn off the heat and keep the lid on, letting the rice sit undisturbed for another 10 minutes to finish cooking and absorb moisture.
- Season the rice: In a small bowl, mix together rice vinegar, sugar, and salt until sugar dissolves. Gently fold this mixture into the cooked rice to give it a subtle tang and shine.
- Prepare the chicken: Pound the chicken breasts to an even thickness of about ½ inch to ensure they cook evenly. Season both sides with salt and pepper to taste.
- Set up breading station: Arrange three shallow dishes: one with flour, one with beaten eggs, and one with panko breadcrumbs to create your coating stations.
- Bread the chicken: Dredge each chicken breast in the flour first to coat lightly. Then dip into the beaten eggs, allowing excess to drip off. Finally, press into the panko breadcrumbs until fully coated.
- Fry the katsu: Heat vegetable oil in a skillet over medium heat until shimmering. Fry the breaded chicken breasts for 4-5 minutes on each side, or until golden brown and cooked through with an internal temperature of 165°F (74°C).
- Drain and rest: Transfer the cooked katsu to a paper towel-lined plate to drain excess oil. Let it rest for a few minutes before slicing to retain juiciness.
- Make the sauce: In a small bowl, combine tonkatsu sauce, soy sauce, Worcestershire sauce, and ketchup. Mix well to create a balanced dipping sauce.
- Assemble the bowls: Serve the seasoned rice in bowls or plates. Top with sliced katsu, shredded cabbage, sliced green onions, and sprinkle with sesame seeds. Drizzle the prepared sauce over the top and garnish with pickled ginger if desired.
Notes
- You can substitute chicken breasts with pork loin for a traditional tonkatsu experience.
- Make sure the oil is hot enough before frying to achieve a crispy crust without absorbing excess oil.
- Use Japanese short-grain rice for the best texture and stickiness.
- Let the breaded cutlets rest briefly after frying to keep them juicy.
- Pickled ginger adds a nice contrast but is optional.
- Leftover sauce can be stored in the refrigerator for up to a week.
Nutrition
- Serving Size: 1 bowl (1 serving)
- Calories: 650 kcal
- Sugar: 8 g
- Sodium: 850 mg
- Fat: 28 g
- Saturated Fat: 5 g
- Unsaturated Fat: 20 g
- Trans Fat: 0 g
- Carbohydrates: 70 g
- Fiber: 3 g
- Protein: 35 g
- Cholesterol: 140 mg
Keywords: Japanese Katsu Bowl, Chicken Katsu, Tonkatsu, Japanese rice bowl, crispy chicken cutlet, homemade katsu sauce, easy Japanese recipe