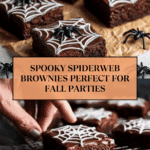
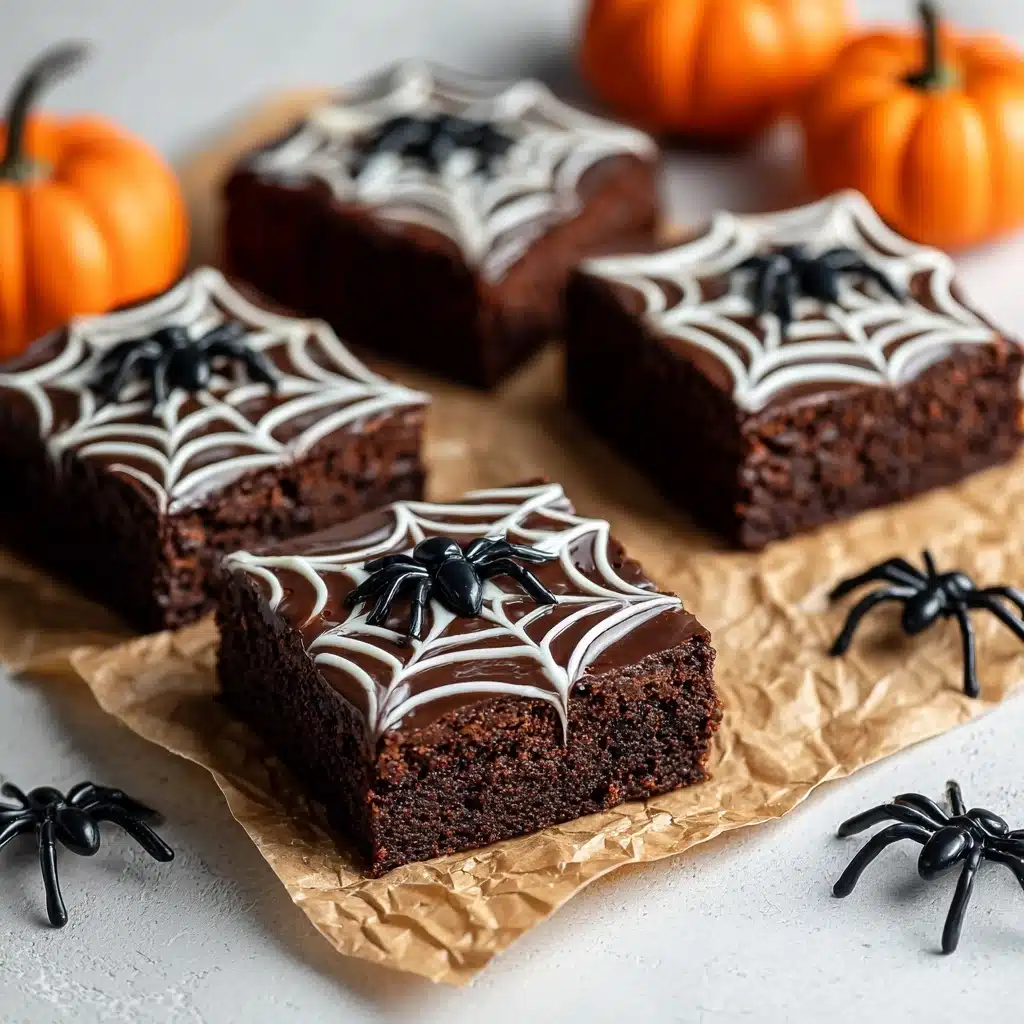
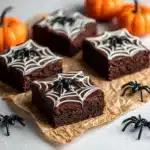
Spooky Spiderweb Brownies Recipe
If you’re looking to wow your friends and family with a Halloween treat that’s as fun to make as it is to eat, these Spooky Spiderweb Brownies are exactly what you need. They bring together the rich, fudgy goodness of classic brownies with an eye-catching spiderweb design that’s perfect for celebrating the season. Each bite delivers that familiar chocolatey comfort, while the white chocolate web pattern and spooky spider details add a playful twist that’s guaranteed to delight both kids and adults alike. Whether it’s for a party or just a cozy night in, these brownies make spooky baking a breeze and create an unforgettable festive centerpiece.
Ingredients You’ll Need
Gathering the right ingredients makes all the difference when crafting your Spooky Spiderweb Brownies. Each component plays a vital role, from creating the fudgy base to the decorative touches that bring the spiderweb to life.
- 1 box brownie mix: Your shortcut to a perfectly rich and moist brownie base without fussing over multiple ingredients.
- Ingredients listed on the box: Typically eggs, oil, and water—these bind and bring moisture to your brownies for that perfect texture.
- 1/2 cup white chocolate chips: Melts smoothly for piping the beautiful spiderweb design and adds a creamy, sweet contrast to the dark brownie.
- Black gel icing or melted dark chocolate: Essential for adding those spooky spider details that complete the Halloween look with flair.
How to Make Spooky Spiderweb Brownies
Step 1: Prepare and Bake the Brownies
Start by following your brownie mix’s package instructions. This usually means combining the mix with eggs, oil, and water to get a smooth batter. Pour it into a greased baking pan to ensure easy release after baking. Bake as directed until a toothpick inserted comes out with just a few moist crumbs, never fully wet. Let the brownies cool completely in the pan—cooling is key for clean decoration and easy cutting later.
Step 2: Melt White Chocolate Chips
While your brownies cool, gently melt the white chocolate chips in a microwave-safe bowl or using a double boiler. Stir often for smoothness and be careful to avoid overheating; burnt chocolate won’t pipe well and can taste bitter. Once melted, transfer it into a piping bag or a plastic sandwich bag with a tiny corner snipped off to control your design precision.
Step 3: Create the Spiderweb Design
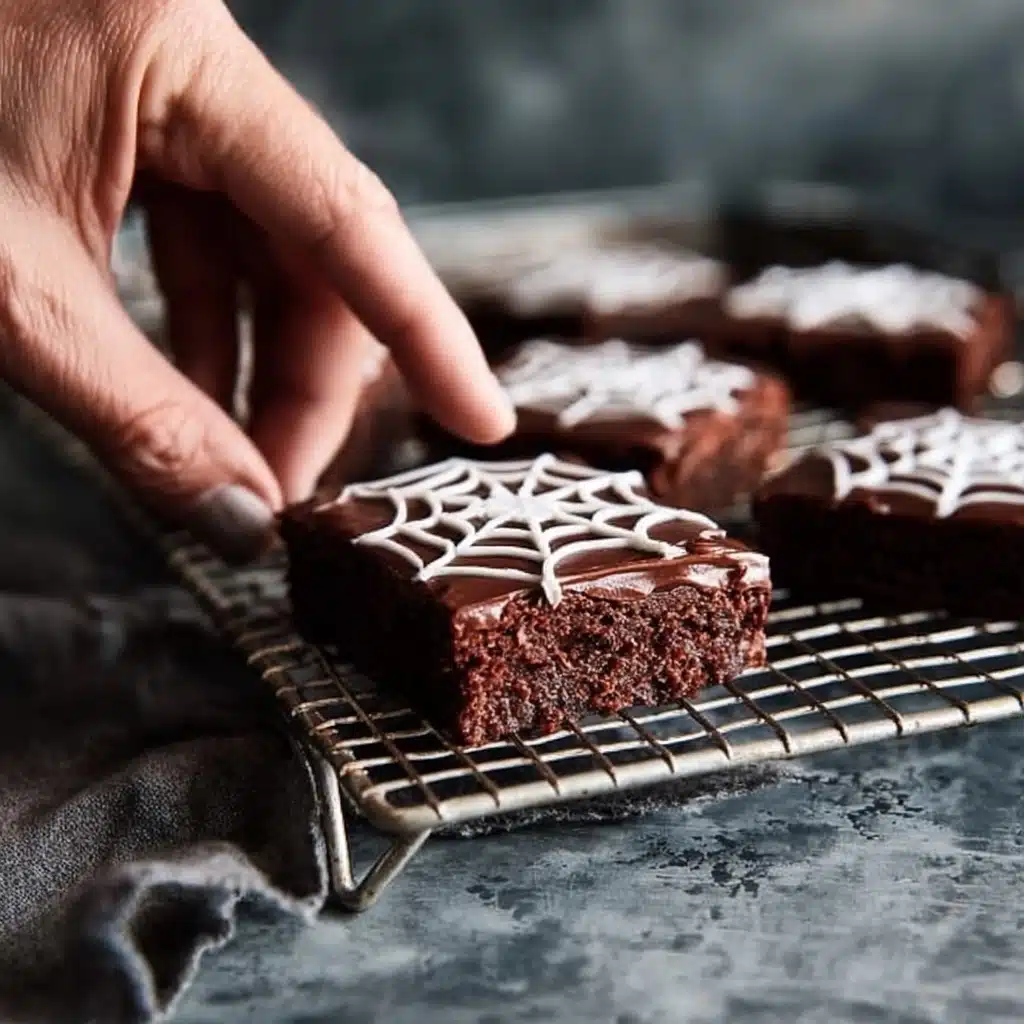
Pipe concentric spirals of white chocolate onto the surface of the cooled brownies. Think of drawing circles that get smaller towards the center. Then, using a toothpick or skewer, drag straight lines from the center outward, piercing through the spirals to form the classic spiderweb effect. This simple technique makes your brownies instantly festive and captivating.
Step 4: Add the Spooky Spider Details
Use black gel icing or melted dark chocolate to draw tiny spiders on top of your webs. A few dots for the body and tiny lines for legs are enough to bring these creepy crawlers to life. This finishing touch is the secret that makes your Spooky Spiderweb Brownies irresistible and perfectly themed for Halloween.
Step 5: Slice and Serve
Carefully cut your decorated brownies into squares, making sure to capture all the spooky spiderweb designs intact on each piece. Serve them at your party or package them up to gift—they look as amazing as they taste.
How to Serve Spooky Spiderweb Brownies
Garnishes
To amp up the spooky factor, sprinkle a light dusting of cocoa powder or powdered sugar around the brownie plates. Add some edible glitter or candy eyeballs nearby for a fun, eerie vibe that pairs beautifully with the spiderwebs. Fresh mint leaves can add a contrasting pop of green, making the presentation pop even more.
Side Dishes
These brownies are delightful on their own but pairing them with a scoop of vanilla ice cream or a dollop of whipped cream takes the experience to new heights. For a festive drink, serve with warm spiced cider or a rich hot chocolate for ultimate cozy indulgence.
Creative Ways to Present
Serve Spooky Spiderweb Brownies on black or orange plates to maintain the Halloween theme. Arrange them on a rustic wooden board with fall-themed decorations like mini pumpkins, dried leaves, or cinnamon sticks. For parties, place brownies on skewers or toothpicks to create easy grab-and-go bites that guests will adore.
Make Ahead and Storage
Storing Leftovers
You can keep any leftover brownies fresh by storing them in an airtight container at room temperature for up to 3 days. Make sure the container is sealed tightly to prevent the brownies from drying out and to keep the spiderweb design intact as best as possible.
Freezing
To enjoy these treats later, wrap the brownies individually in plastic wrap and then place them in a freezer-safe bag or container. They freeze well for up to 2 months. When you’re ready to indulge, simply thaw at room temperature before serving and refresh the spider details if needed with a bit of extra icing or melted chocolate.
Reheating
Warm your brownies gently in the microwave for about 10 to 15 seconds if you want that gooey, just-baked feeling. Avoid overheating or their texture can become tough. The gentle warming also enhances the flavors and softens the white chocolate web, perfect for a comforting treat.
FAQs
Can I make Spooky Spiderweb Brownies from scratch?
Absolutely! While this recipe uses a boxed mix for convenience, you can make homemade brownies and still create the spiderweb decoration. Just ensure the brownie base is smooth and flat to pipe the white chocolate design effectively.
What type of white chocolate works best for making the web?
White chocolate chips or bars are both great choices, but chocolate chips are preferred because they melt smoothly without seizing. Adding a little vegetable oil when melting can help achieve a piping-friendly consistency.
How do I prevent the spiderweb design from smudging?
Let the brownies cool completely before decorating. This helps the white chocolate to set properly on the surface without melting into the brownie. Handle with care once decorated to keep the delicate web pattern intact.
Can I substitute the black gel icing for something else?
Yes! Melted dark or semi-sweet chocolate works wonderfully for drawing the spiders. You can pipe it with a small tip or a toothpick for precise lines. Alternatively, edible markers designed for desserts also make decorating easy.
What if I want to make these brownies less sweet?
Consider reducing the sugar content in the brownie mix if homemade or opting for a dark chocolate variety. Also, balance the sweetness of the white chocolate web by using bittersweet melted chocolate for the spider accents, adding depth to the flavors.
Final Thoughts
There’s nothing quite like the joy of baking something playful and delicious, and these Spooky Spiderweb Brownies fit the bill perfectly. They combine ease, festive charm, and pure chocolatey happiness in every bite. I hope you enjoy making and sharing this recipe as much as I do—it’s sure to be a memorable treat that keeps everyone coming back for more during the Halloween season and beyond!
PrintSpooky Spiderweb Brownies Recipe
These Spooky Spiderweb Brownies are a fun and festive treat perfect for Halloween or any spooky-themed occasion. Rich, fudgy brownies are decorated with a delicate white chocolate spiderweb and topped with an adorable, creepy spider detail made from black gel icing or melted dark chocolate. Easy to prepare and guaranteed to impress guests of all ages, these brownies bring a playful twist to classic chocolate brownies.
- Prep Time: 15 minutes
- Cook Time: 30 minutes
- Total Time: 45 minutes
- Yield: 12 servings 1x
- Category: Dessert
- Method: Baking
- Cuisine: American
- Diet: Vegetarian
Ingredients
Brownie Base
- 1 box brownie mix (plus ingredients listed on the box, typically eggs, oil, and water)
Spiderweb Decoration
- 1/2 cup white chocolate chips
- Black gel icing or melted dark chocolate for spider details
Instructions
- Prepare the brownie mix: Follow the instructions on the brownie mix box, combining the specified ingredients and mixing thoroughly. Pour the batter into a greased baking pan, spreading evenly to ensure uniform baking.
- Bake and cool: Bake the brownies as directed on the box, usually about 25-30 minutes at 350°F (175°C). Allow the brownies to cool completely in the pan to ensure the decoration sets properly.
- Create the spiderweb: Melt the white chocolate chips gently in a microwave or double boiler until smooth. Transfer the melted white chocolate to a piping bag or plastic bag with a small corner snipped off. Pipe a spiral design starting from the center and moving outward on top of the cooled brownies. Use a toothpick to drag lines outward from the center to the edges of the pan, forming a spiderweb pattern.
- Draw the spider details: Using black gel icing or melted dark chocolate, draw small spider shapes on the spiderweb—typically a round body with legs—to create spooky yet cute spider accents.
- Serve: Once decorated, cut the brownies into squares, making sure each piece has spiderweb and spider decorations. Serve these spooky spiderweb brownies to delight guests and family.
Notes
- Ensure the brownies are completely cool before decorating to prevent the white chocolate from melting and smudging.
- Use a toothpick gently when creating the spiderweb lines to maintain a clean design.
- For a dairy-free option, substitute the brownie mix and white chocolate chips with vegan alternatives.
- Store brownies in an airtight container at room temperature for up to 3 days or refrigerate for up to a week.
- For an extra spooky effect, consider adding candy eyeballs to the spider bodies.
Nutrition
- Serving Size: 1 brownie (1/12th of recipe)
- Calories: 250 kcal
- Sugar: 22 g
- Sodium: 150 mg
- Fat: 12 g
- Saturated Fat: 6 g
- Unsaturated Fat: 4 g
- Trans Fat: 0 g
- Carbohydrates: 35 g
- Fiber: 2 g
- Protein: 3 g
- Cholesterol: 25 mg
Keywords: Spiderweb brownies, Halloween brownies, spooky brownies, chocolate spiderweb, festive dessert, easy Halloween treats