Cottage Cheese Peanut Butter Mousse Recipe
Introduction
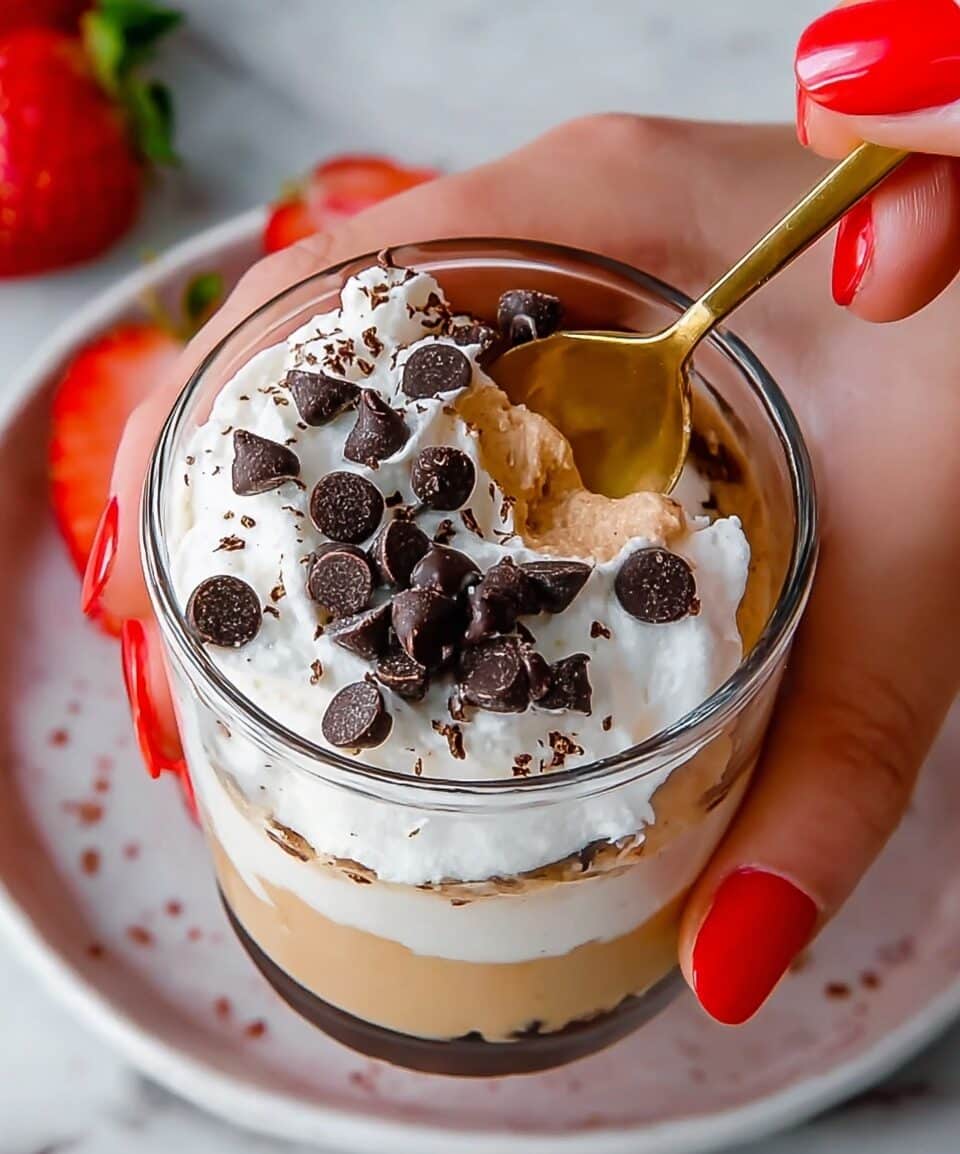
This Cottage Cheese Peanut Butter Mousse is a creamy, protein-packed treat that’s quick to prepare and delightfully smooth. Combining the rich flavors of peanut butter with the light texture of cottage cheese, it makes a perfect snack or healthy dessert. Optional cocoa and toppings let you customize it exactly how you like.
Ingredients
- 1 cup cottage cheese (small-curd recommended)
- 2 tbsp natural creamy peanut butter
- 1–2 tbsp sweetener (honey, maple, or sugar substitute)
- 1 tsp vanilla extract
- 2 tbsp cocoa powder (optional — for chocolate lovers)
- Pinch of salt
- Optional toppings: sliced banana, berries, chopped peanuts, dark chocolate shavings, or a jam swirl
Instructions
- Step 1: Prepare a blender or food processor (an immersion blender works well too).
- Step 2: Add the cottage cheese, peanut butter, sweetener, vanilla extract, cocoa powder (if using), and a pinch of salt into the blender.
- Step 3: Pulse a few times to break up the curds, then blend on medium-high speed for 30–45 seconds until the mixture is silky smooth. Scrape down the sides and blend again if needed.
- Step 4: Adjust the texture by adding a splash of milk to thin it or an extra tablespoon of peanut butter or cottage cheese to thicken.
- Step 5: Spoon the mousse into serving cups and chill for at least 30 minutes to achieve the best texture.
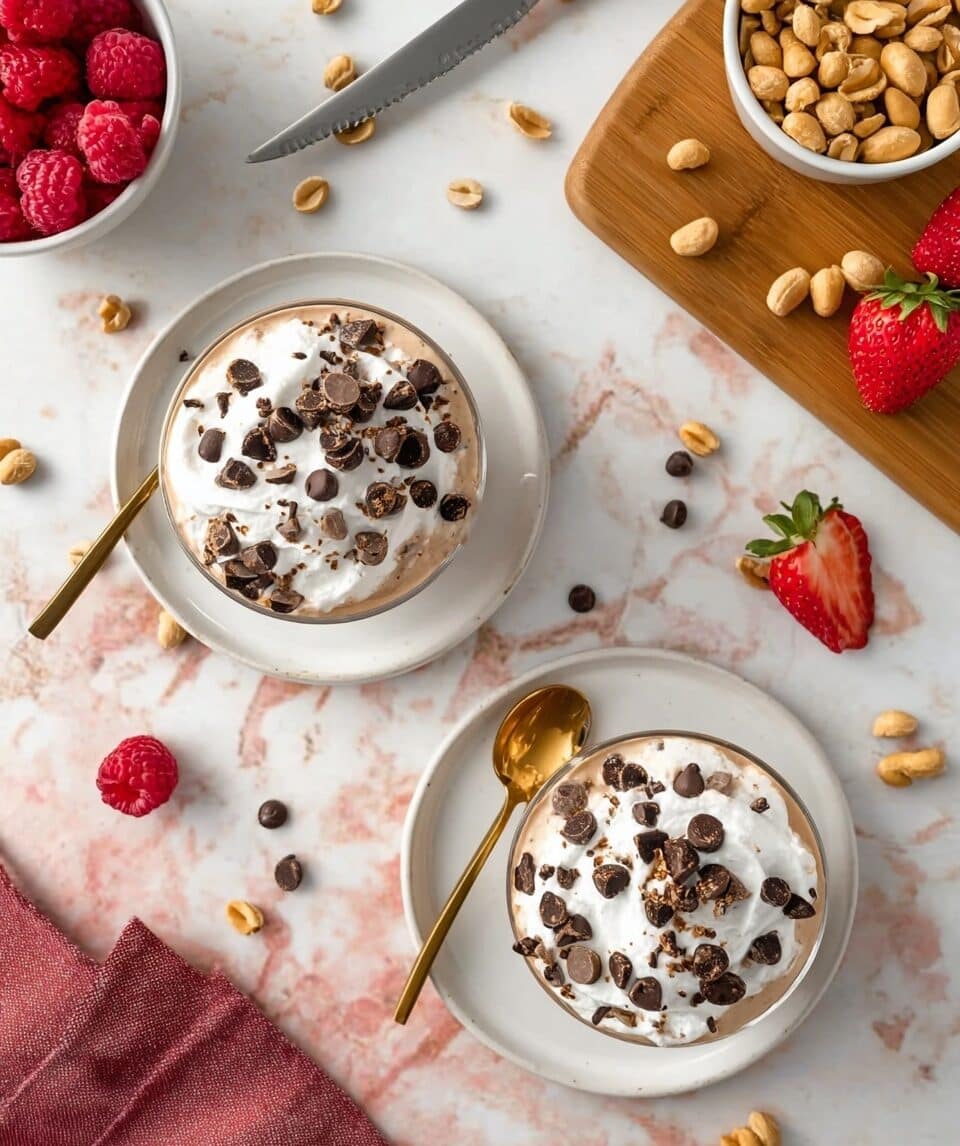
- Step 6: Garnish with your favorite toppings such as sliced banana, berries, chopped peanuts, dark chocolate shavings, or a swirl of jam. Serve cold and enjoy.
Tips & Variations
- Use small-curd cottage cheese for a smoother blend and creamier texture.
- Try the Chocolate Banana variation by blending in 1 small banana plus extra cocoa powder and topping with banana slices.
- Add ½ cup mixed berries before blending for a fresh, tart Berry Blast twist.
- Mix in 1 tsp instant coffee and a splash of milk to create a Mocha-flavored mousse.
- For a PB&J version, ripple in 2 tbsp jam and swirl gently before chilling.
- To make it dairy-free, substitute silken tofu for cottage cheese and use plant-based peanut butter—note this changes the texture slightly.
- Sweeten the mousse gradually since it’s easier to add more sweetener than fix an overly sweet dessert.
- Chilling fully is important—warm mousse can be grainy instead of smooth.
Storage
Store the mousse in an airtight container or portioned jars in the refrigerator for up to 3–4 days. For best texture, keep it well chilled and give it a quick stir before serving if separated. Reheat is not recommended as it may alter the smooth consistency.
How to Serve
Serve this delicious recipe with your favorite sides.
FAQs
Can I use any type of peanut butter?
Natural creamy peanut butter works best for smooth blending, but you can use your favorite type. Just avoid those with chunky textures unless you want added crunch.
Is this mousse suitable for a vegan diet?
The traditional recipe uses dairy cottage cheese, but you can make a vegan-friendly version by substituting silken tofu for cottage cheese and using plant-based peanut butter. Expect a slightly different texture.
PrintCottage Cheese Peanut Butter Mousse Recipe

A creamy and protein-packed Cottage Cheese Peanut Butter Mousse that blends smooth cottage cheese with natural peanut butter and your choice of sweetener for a deliciously healthy treat. This versatile mousse can be enjoyed plain or customized with chocolate, fruit, or coffee flavors, making it perfect for a quick snack or dessert.
- Prep Time: 5 minutes
- Cook Time: 0 minutes
- Total Time: 35 minutes
- Yield: 2 servings 1x
- Category: Dessert
- Method: Blending
- Cuisine: American
- Diet: Low Fat
Ingredients
Main Ingredients
- 1 cup small-curd cottage cheese
- 2 tbsp natural creamy peanut butter
- 1–2 tbsp sweetener (honey, maple syrup, or sugar substitute)
- 1 tsp vanilla extract
- 2 tbsp cocoa powder (optional, for chocolate lovers)
- Pinch of salt
Optional Toppings
- Sliced banana
- Berries (such as mixed berries)
- Chopped peanuts
- Dark chocolate shavings
- Jam swirl
Instructions
- Prepare the blender: Grab a blender, food processor, or immersion blender to ensure smooth blending of ingredients.
- Combine ingredients: Add cottage cheese, peanut butter, sweetener, vanilla extract, cocoa powder (if using), and a pinch of salt into the blender.
- Initial pulsing: Pulse the mixture briefly to break up the cottage cheese curds for easier blending.
- Blend until smooth: Blend on medium-high speed for 30 to 45 seconds until the mousse reaches a silky, smooth texture. Scrape down the sides of the blender once and blend again if necessary.
- Adjust texture: If the mousse is too thick, add a small splash of milk to thin it out. To thicken, add an extra tablespoon of peanut butter or cottage cheese and blend again.
- Chill for best results: Spoon the mousse into serving cups and chill in the refrigerator for at least 30 minutes to develop a mousse-like texture.
- Garnish and serve: Top with optional toppings like sliced banana, berries, chopped peanuts, dark chocolate shavings, or a swirl of jam, and serve chilled.
Notes
- Use small-curd cottage cheese to achieve a smoother mousse.
- Pulse first before fully blending to ensure curds are well broken down.
- Add sweetener gradually to avoid over-sweetening.
- Chilling is key; warm mousse may have a grainy texture.
- To meal prep, portion mousse into jars with labels and store in the fridge for up to 3–4 days.
- Try variations such as blending in a banana for chocolate banana mousse or adding instant coffee for a mocha twist.
- For a dairy-free version, substitute cottage cheese with silken tofu and use plant-based peanut butter.
Keywords: cottage cheese mousse, peanut butter mousse, healthy mousse recipe, protein dessert, no-bake dessert, easy mousse, peanut butter dessert