Apple Samoas: Nutty Coconut Topped Apple Slices with Chocolate Drizzle Recipe
Introduction
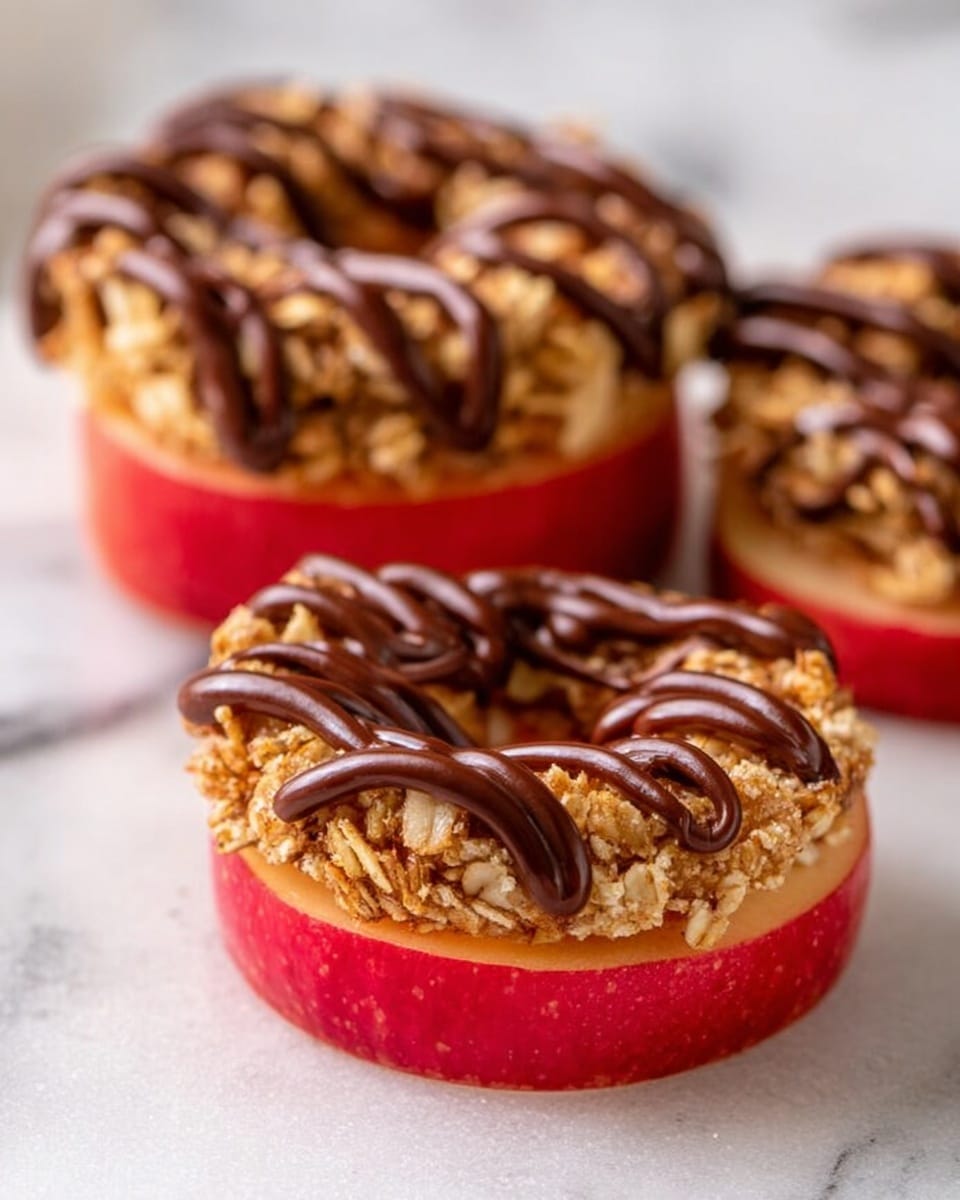
Apple Samoas are a fresh and healthier twist on the classic cookie, combining crisp apple slices with creamy nut butter, shredded coconut, and a touch of chocolate. This easy no-bake treat is perfect for a quick snack or a light dessert.

Ingredients
- 1 apple (Honeycrisp or Pink Lady recommended)
- ⅓ cup unsweetened shredded coconut
- 3 tablespoons almond butter, cashew butter, or seed butter of choice
- ½ tablespoon maple syrup
- 2 tablespoons chocolate chips
- ½ teaspoon coconut oil
Instructions
- Step 1: Cut the apple into ¼-inch thick slices and core each slice. You should get about 3-4 slices.
- Step 2: In a bowl, mix together the shredded coconut, almond butter, and maple syrup until fully combined.
- Step 3: Spread the coconut and nut butter mixture evenly on top of each apple slice, then place the slices on a piece of parchment paper.
- Step 4: Melt the chocolate chips with the coconut oil until smooth. Drizzle the melted chocolate over each apple slice.
- Step 5: Place the apple slices in the freezer for 5-10 minutes to firm up the chocolate. Enjoy your Apple Samoas!
Tips & Variations
- Use a variety of nut or seed butters to change the flavor profile, such as sunflower seed butter for a nut-free option.
- Try adding a sprinkle of cinnamon or sea salt on top before freezing for extra flavor.
- For a richer chocolate layer, use dark chocolate chips and melt slowly over low heat.
Storage
Store leftover Apple Samoas in an airtight container in the refrigerator for up to 2 days. For longer storage, keep them in the freezer and enjoy within a week. Let them thaw for a few minutes before eating for the best texture.
How to Serve
Serve this delicious recipe with your favorite sides.
FAQs
Can I use a different type of apple?
Yes, any crisp apple works well. Varieties like Fuji, Gala, or Granny Smith can be used depending on your taste preference.
Is it necessary to use coconut oil when melting the chocolate?
Coconut oil helps the chocolate melt smoothly and gives a nice shine when it hardens, but you can melt chocolate chips on their own if preferred.
PrintApple Samoas: Nutty Coconut Topped Apple Slices with Chocolate Drizzle Recipe

Apple Samoas are a healthy and delicious treat featuring crisp apple slices topped with a sweet blend of shredded coconut, nut butter, and maple syrup, finished with a drizzle of chocolate. This quick and easy no-bake snack combines fruity freshness with rich flavors reminiscent of the classic Samoas cookie.
- Prep Time: 10 minutes
- Cook Time: 0 minutes
- Total Time: 15 minutes
- Yield: 3–4 apple Samoas (depending on apple size and slice count) 1x
- Category: Snack
- Method: No-Cook
- Cuisine: American
- Diet: Vegetarian
Ingredients
Fruit
- 1 apple (Honeycrisp or Pink Lady recommended)
Topping
- ⅓ cup unsweetened shredded coconut
- 3 tablespoons almond butter or cashew butter (or seed butter of choice)
- ½ tablespoon maple syrup
Chocolate Drizzle
- 2 tablespoons chocolate chips
- ½ teaspoon coconut oil
Instructions
- Slice and Core Apples: Cut the apple into ¼-inch thick slices and carefully remove the core from each slice. You should aim to get about 3-4 slices per apple.
- Prepare Coconut Mixture: In a bowl, thoroughly mix the unsweetened shredded coconut, almond or cashew butter, and maple syrup until the ingredients are fully combined and form a sticky mixture.
- Top the Apple Slices: Spread the coconut mixture evenly over the top of each apple slice, ensuring a generous layer for flavor and texture.
- Arrange on Parchment: Place the topped apple slices on a sheet of parchment paper to prevent sticking during the freezing process.
- Melt Chocolate Drizzle: Melt the chocolate chips together with the coconut oil over a double boiler or in short bursts in the microwave, stirring until smooth and runny.
- Drizzle Chocolate and Freeze: Drizzle the melted chocolate over each topped apple slice. Then, transfer the apple Samoas to the freezer and let them firm up for about 5 to 10 minutes before enjoying.
Notes
- Use firm apples like Honeycrisp or Pink Lady to ensure the slices hold up well with the toppings.
- You can substitute the nut butter with any seed butter if you have allergies or preferences.
- Ensure the shredded coconut is unsweetened to control overall sweetness.
- Freeze the apple Samoas just long enough to set the chocolate; avoid freezing too long to keep the apples fresh.
- Optional: For a richer chocolate flavor, use dark chocolate chips or add a pinch of sea salt on top before setting.
Keywords: apple samoas, healthy snack, no-bake, nut butter, shredded coconut, chocolate drizzle, fruit snack