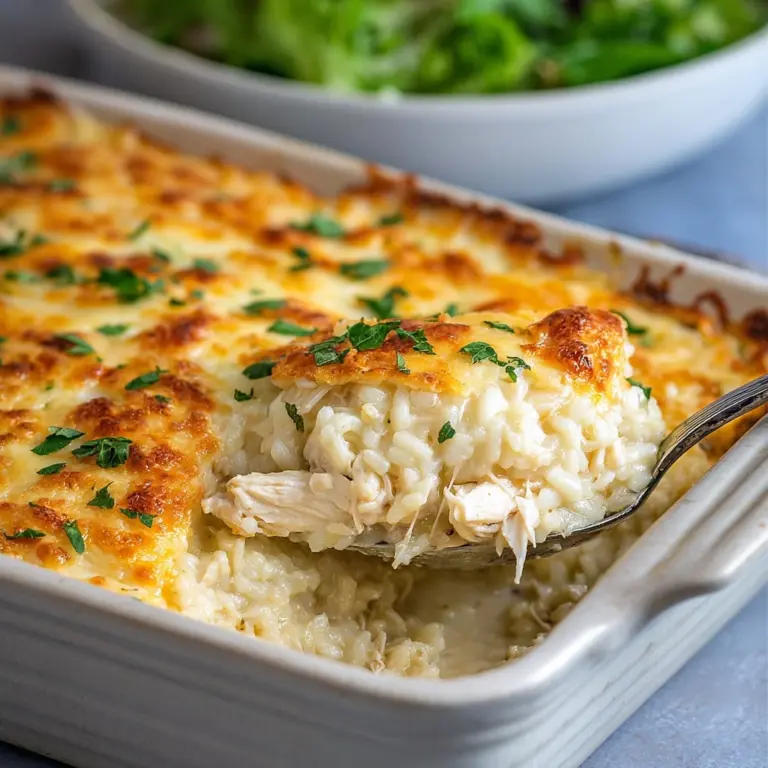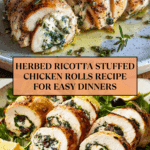
Herbed Ricotta Stuffed Chicken Rolls
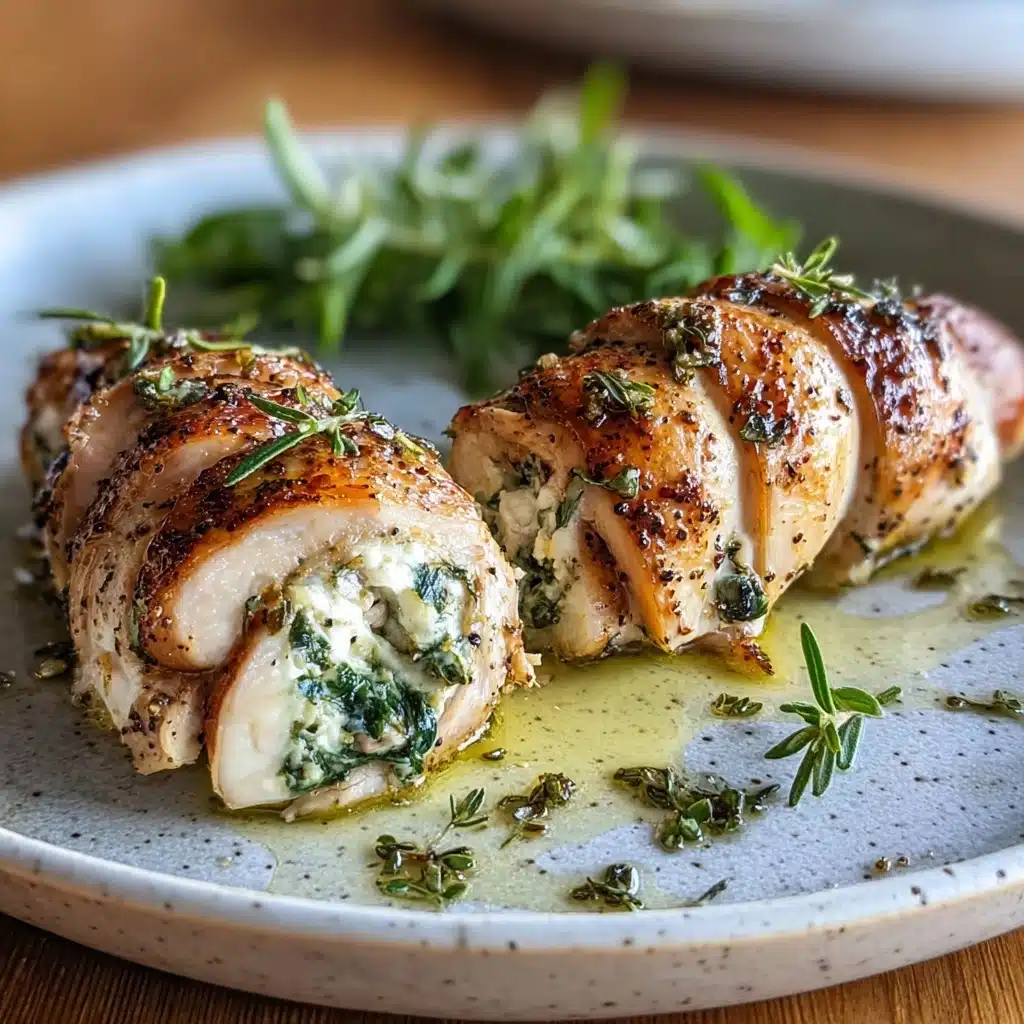
If you’re looking to impress your friends or simply indulge yourself in something irresistibly delicious, these Herbed Ricotta Stuffed Chicken Rolls are the way to go. Packed with creamy ricotta, fragrant fresh herbs, and tender chicken breasts, this recipe strikes the perfect balance of flavors and textures that will have everyone asking for seconds. And Serving Suggestions are just as important here because the right accompaniments can elevate your meal from good to spectacular. Let’s dive into this fabulous dish that feels both comforting and special!
Ingredients You’ll Need
This recipe is wonderfully straightforward, using basic yet fresh ingredients that each play a crucial role in shaping the flavor and texture of your chicken rolls. Every component is chosen to complement one another and create a meal that shines, whether for a casual dinner or an elegant occasion.
- 4 boneless, skinless chicken breasts: The perfect canvas for stuffing; slice carefully to create generous pockets.
- 1 cup ricotta cheese: Adds creamy richness that melts beautifully inside the chicken.
- 1/4 cup grated Parmesan cheese: Offers a sharp, nutty depth to the filling.
- 1/4 cup fresh basil, chopped: Brings a sweet, slightly peppery flavor that brightens the dish.
- 1/4 cup fresh parsley, chopped: Adds freshness and a mild earthiness, balancing out the herbs.
- 2 cloves garlic, minced: Provides a fragrant kick to the filling without overpowering it.
- Salt and pepper to taste: Essential for seasoning, enhancing every ingredient’s natural flavor.
- Olive oil for cooking: Used to sear the chicken, creating a golden crust that locks in juices.
- Toothpicks or kitchen twine for securing rolls: Keeps the delicious filling safely tucked inside during cooking.
How to Make and Herbed Ricotta Stuffed Chicken Rolls
Step 1: Prepare the Chicken Pockets
Begin by preheating your oven to 375°F (190°C). Carefully slice each chicken breast horizontally to form a pocket without cutting all the way through. These pockets are the vessels for that delectable ricotta-herb filling, so take your time to get nice, even cuts. Proper prep here makes rolling and stuffing much easier and ensures even cooking later.
Step 2: Mix the Filling
In a medium bowl, combine ricotta cheese, grated Parmesan, chopped basil, parsley, and minced garlic. Season with salt and pepper to your liking. This filling is where the magic happens—the creamy cheese balances the fresh herbs and garlic perfectly, creating lush pockets of flavor waiting inside the chicken.
Step 3: Stuff and Secure the Chicken
Spoon the ricotta mixture generously into each chicken pocket. Be careful not to overfill as it might spill while cooking. Once stuffed, secure each chicken roll with toothpicks or tie them with kitchen twine to keep everything tucked beautifully inside. This step ensures those lovely cheesy-herb bundles stay intact during searing and baking.
Step 4: Sear Before Baking
Heat olive oil in a skillet over medium-high heat. Sear the chicken rolls on each side for about 3 to 4 minutes, until you achieve a gorgeous, golden-brown crust. This step locks in the juices and adds a wonderful texture contrast between the crispy exterior and tender interior.
Step 5: Bake to Perfection
Transfer the seared chicken rolls to a baking dish and place them in the preheated oven. Bake for roughly 20 minutes or until the chicken is cooked through and the filling is bubbling slightly. This final cook ensures everything melds together into a wonderful harmony of taste, and your kitchen will smell incredible!
How to Serve Herbed Ricotta Stuffed Chicken Rolls
Garnishes
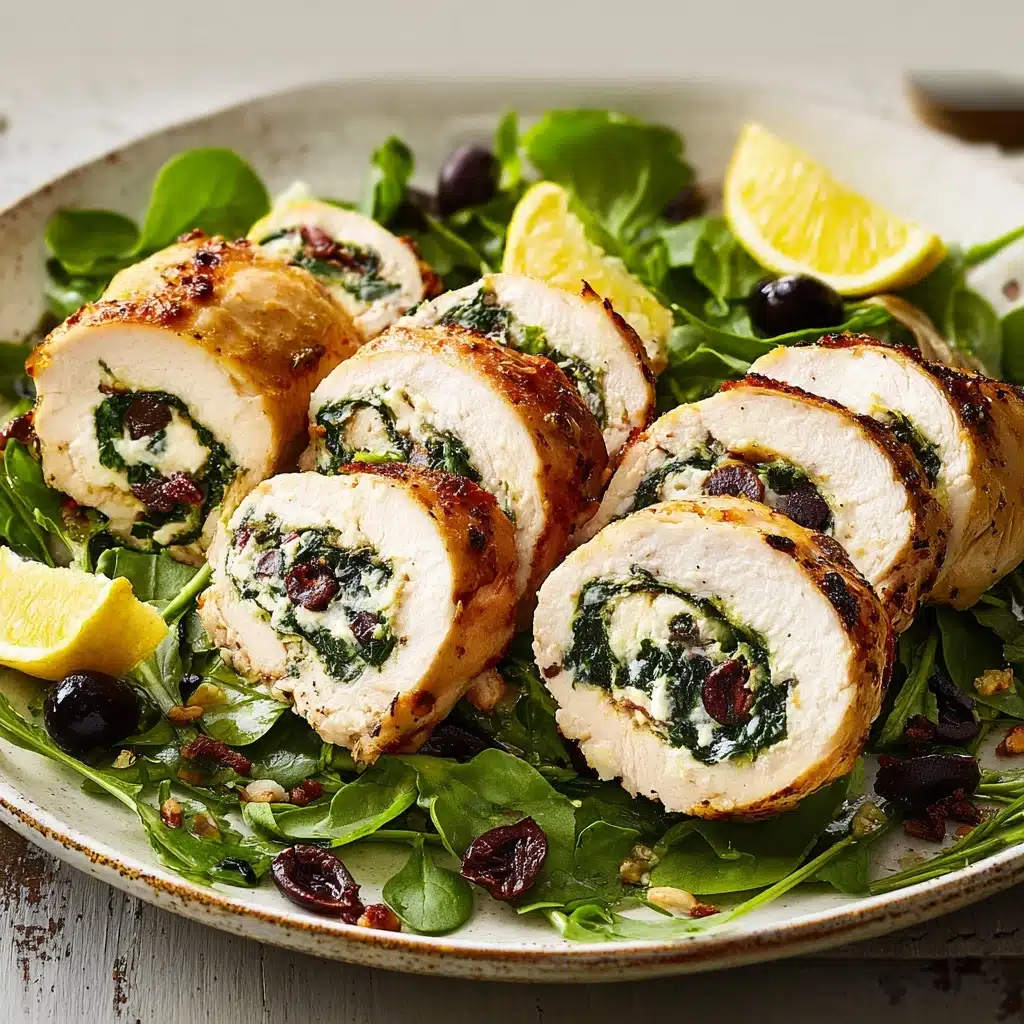
A sprinkle of freshly chopped parsley or basil on top just before serving adds a fresh pop of color and flavor, reinforcing those wonderful herbaceous notes. You might also consider a light drizzle of good quality olive oil or a squeeze of lemon juice to brighten the entire dish, enhancing the ricotta filling.
Side Dishes
And Serving Suggestions extend beautifully to sides like roasted seasonal vegetables, creamy mashed potatoes, or a simple green salad dressed with lemon vinaigrette. Each choice complements the richness of the ricotta-stuffed chicken perfectly without overwhelming its delicate flavors.
Creative Ways to Present
For a special touch, slice the stuffed chicken rolls diagonally and arrange them on a large platter, drizzling some pan juices or a light tomato sauce around the edges. This presentation works wonderfully for dinner parties, making each plate look rustic yet elegant, inviting everyone to dive right in.
Make Ahead and Storage
Storing Leftovers
If you have leftovers, store your cooked chicken rolls in an airtight container in the refrigerator. They will stay fresh for up to 3 days, making them a convenient and tasty option for next-day meals.
Freezing
These stuffed chicken rolls freeze well before cooking. Prepare and stuff the chicken, then wrap each roll tightly in plastic wrap and place them in a freezer-safe bag. Freeze for up to 2 months. When ready to use, thaw overnight in the refrigerator before cooking as instructed.
Reheating
To reheat, warm the chicken rolls gently in the oven at 350°F (175°C) for about 15 minutes or until heated through. This method helps retain the juicy texture and prevents drying out, ensuring every bite remains satisfying.
FAQs
Can I use other cheeses instead of ricotta and Parmesan?
Absolutely! While ricotta and Parmesan give a lovely creamy and nutty profile, you can experiment with goat cheese for tanginess or mozzarella for a gooier inside, depending on your flavor preferences.
What if I don’t have fresh herbs on hand?
Dried herbs can work in a pinch, but use about one-third the amount of fresh herbs since dried herbs are more concentrated. For best results, fresh basil and parsley truly brighten this dish.
How do I know when the chicken is fully cooked?
The internal temperature should reach 165°F (74°C). If you don’t have a thermometer, cut into one roll to ensure the chicken is opaque and juices run clear.
Can this recipe be made gluten-free?
Yes! This recipe is naturally gluten-free as long as your ingredients like Parmesan don’t have any added gluten-containing fillers. Always check labels when in doubt.
What should I do if the filling leaks out during cooking?
Make sure to seal the chicken pockets tightly with toothpicks or twine and avoid overstuffing. Searing the rolls before baking also helps set the shape to minimize leakage.
Final Thoughts
These Herbed Ricotta Stuffed Chicken Rolls delight the senses and are perfect for making any mealtime feel special. With a little care in preparation and the right and Serving Suggestions, this recipe will quickly become one of your favorites to share. Go ahead and try it—you’ll love how effortless yet impressive they turn out!
“`
PrintHerbed Ricotta Stuffed Chicken Rolls

Herbed Ricotta Stuffed Chicken Rolls are a flavorful and elegant main dish featuring tender chicken breasts filled with a creamy mixture of ricotta, Parmesan, fresh herbs, and garlic. This recipe combines searing and baking to lock in juices and create a delicious, savory entrée perfect for weeknight dinners or special occasions.
- Prep Time: 15 minutes
- Cook Time: 25 minutes
- Total Time: 40 minutes
- Yield: 4 servings 1x
- Category: Main Course
- Method: Searing and Baking
- Cuisine: Italian
- Diet: Low Fat
Ingredients
Chicken
- 4 boneless, skinless chicken breasts
Filling
- 1 cup ricotta cheese
- 1/4 cup grated Parmesan cheese
- 1/4 cup fresh basil, chopped
- 1/4 cup fresh parsley, chopped
- 2 cloves garlic, minced
- Salt and pepper to taste
Other
- Olive oil for cooking
- Toothpicks or kitchen twine for securing rolls
Instructions
- Preheat and Prepare Chicken: Preheat your oven to 375°F (190°C). Carefully slice each chicken breast horizontally to create a pocket for the filling without cutting all the way through.
- Make the Filling: In a mixing bowl, combine the ricotta cheese, grated Parmesan, chopped basil, chopped parsley, and minced garlic. Season the mixture generously with salt and pepper, then stir until evenly mixed.
- Stuff the Chicken: Spoon the herbed ricotta filling into each chicken breast pocket. Secure each pocket with toothpicks or kitchen twine to keep the filling inside during cooking.
- Sear the Chicken Rolls: Heat olive oil in a skillet over medium-high heat. Add the stuffed chicken rolls and sear for 3-4 minutes on each side until golden brown, to develop flavor and texture.
- Bake Until Cooked Through: Transfer the seared chicken rolls to an ovenproof baking dish. Bake in the preheated oven for about 20 minutes, or until the chicken is fully cooked and juices run clear (internal temperature of 165°F or 74°C).
- Serve and Enjoy: Remove toothpicks or twine carefully before serving. Pair with a fresh side salad or roasted vegetables for a complete meal.
Notes
- Make sure not to cut all the way through the chicken breasts when creating pockets to hold the filling securely.
- Use fresh herbs for the best flavor, but dried can be substituted in a pinch (use about one-third of the amount).
- Searing the chicken before baking helps seal in the juices and adds a savory crust.
- If you don’t have toothpicks or twine, secure the chicken rolls by folding and placing seam side down tightly.
- Check the internal temperature with a meat thermometer to ensure food safety.
Nutrition
- Serving Size: 1 stuffed chicken roll
- Calories: 350
- Sugar: 1 g
- Sodium: 450 mg
- Fat: 18 g
- Saturated Fat: 7 g
- Unsaturated Fat: 9 g
- Trans Fat: 0 g
- Carbohydrates: 3 g
- Fiber: 0.5 g
- Protein: 40 g
- Cholesterol: 110 mg
Keywords: herbed ricotta, stuffed chicken rolls, chicken breast recipe, Italian chicken, baked chicken, healthy chicken dish